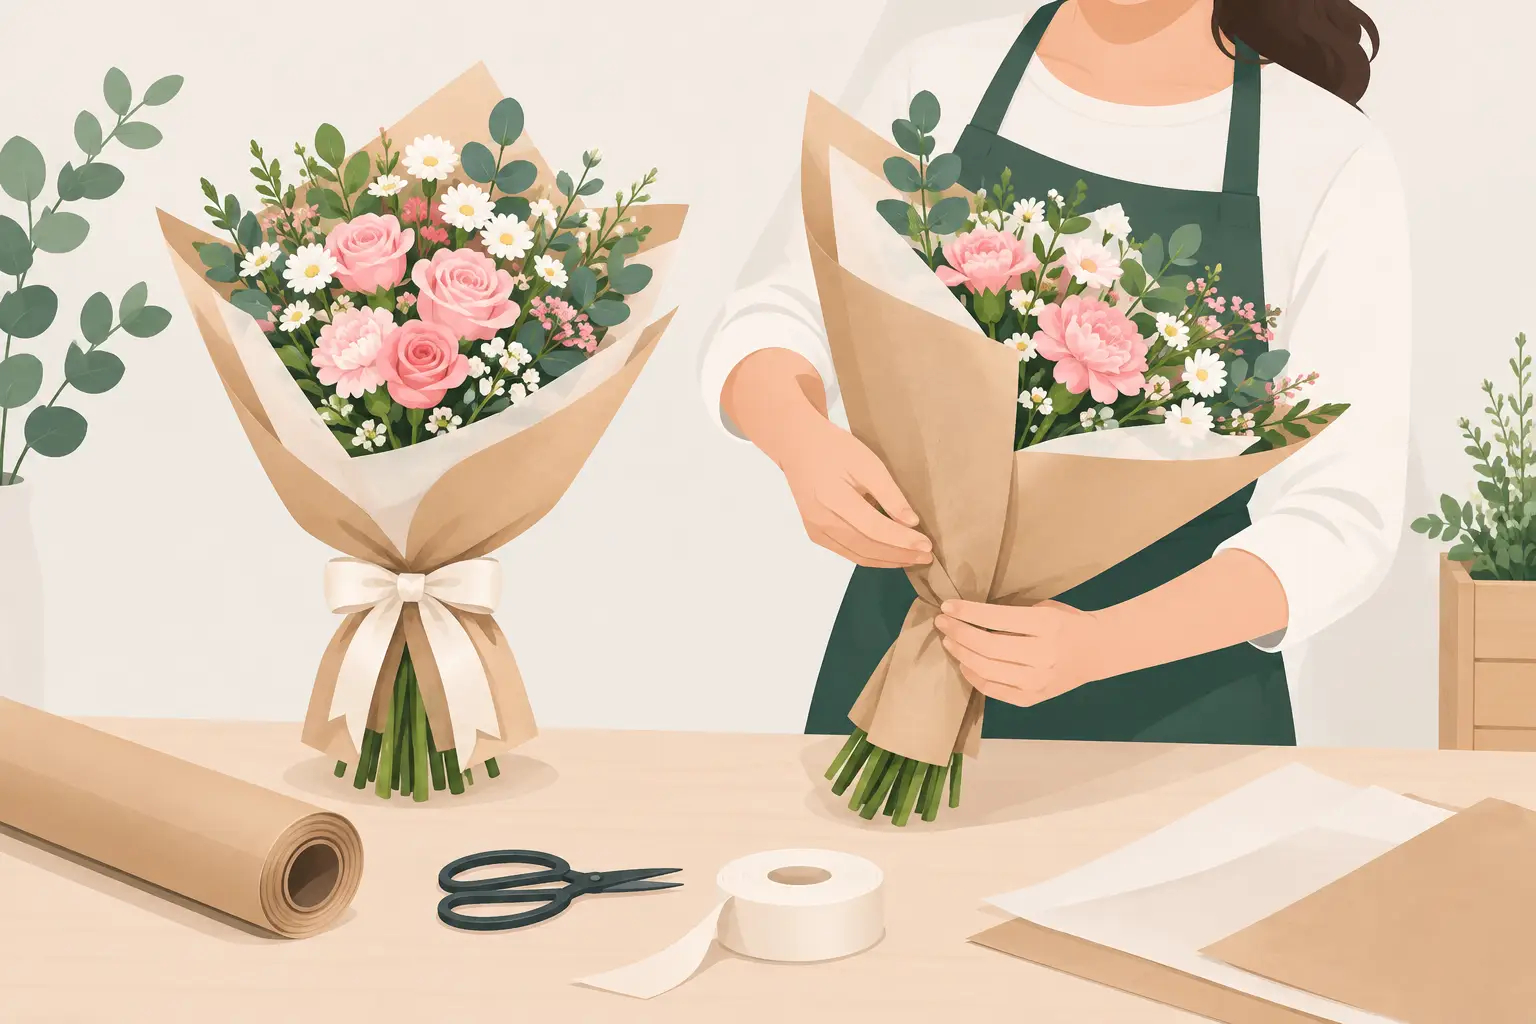
A well-made hand-tied bouquet can lose its value at the counter if the wrap is loose, damp or awkward to carry. Knowing how to wrap hand-tied bouquets properly protects the stems, keeps the flowers looking fresh and gives customers a finished product they are happy to give straight away. For busy florists, the aim is not elaborate packaging for its own sake. It is a tidy, secure wrap that suits the bouquet, the occasion and the price point.
Prepare the Bouquet Before You Wrap It
Wrapping starts with a bouquet that is structurally sound. Check the binding point first. Stems should be tied firmly enough to hold their spiral and shape, but not so tightly that the tie cuts into soft stems. A second tie lower down the handle can help with larger, heavier arrangements, particularly when they will be carried some distance.
Trim the stem ends evenly and remove any foliage that will sit inside the water source or wrap. Leaves trapped in wet packaging quickly make the presentation look untidy and can affect vase life. If the bouquet is being collected immediately, the stems may simply need to be protected from drips. For delivery, transport or a warm shop environment, use a suitable water source around the stem ends before applying the outer packaging.
Think about the bouquet’s face. The front should be obvious before any paper or cellophane goes near it. A hand-tied bouquet is normally designed to be viewed from all sides, but most customers will hold it with one clear best angle. Position the flowers so the focal blooms sit upright, and make sure trailing foliage is not caught underneath the stems.
Choose Wrapping Materials for the Job
The correct combination of materials depends on flower type, bouquet size and how the customer will use it. Fresh flowers need a moisture barrier around the stems, while the outer layer provides shape, protection and presentation. One material rarely does every job well.
Clear cellophane remains a practical choice where the flower heads need to be visible. It offers protection from light rain and handling, and works particularly well for mixed seasonal bouquets, supermarket-style gifting and everyday counter sales. Coloured cellophane can add impact, although it should not compete with the flowers. Softer shades are often more forgiving when using varied flower colours.
Kraft paper, tissue and florist wrap bring a more natural or premium finish. They are useful for gift bouquets and for retailers whose customers prefer a less plastic-led appearance. However, paper should not be placed directly against a wet stem base without protection. It can weaken, stain or transfer moisture to a customer’s clothing or car seat.
For a reliable trade set-up, keep compatible sheets, sleeves, stem bags, tape and ribbon close to the workbench. Reaching for makeshift materials during a queue is where inconsistent wrapping starts. The Baggery Sundries supplies floristry and packaging lines that allow businesses to replenish these everyday essentials alongside wider retail packaging requirements.
Match the Wrap to the Bouquet Size
A small posy wrapped in an oversized sheet can look lost and uses more material than necessary. Equally, a generous hand-tied bouquet needs enough width to protect the flower heads without crushing them. As a working guide, the upper corners of the wrap should rise beyond the outside flowers, while the lower section should cover the stem base fully.
Long-stemmed roses, lilies and delphiniums usually need a taller wrap. Compact mixed bouquets often look better in a shorter, neater cone. If the bouquet includes delicate blooms such as ranunculus, sweet peas or hydrangeas, leave a little more air around the heads rather than pulling the cellophane tightly against them.
How to Wrap Hand-Tied Bouquets Step by Step
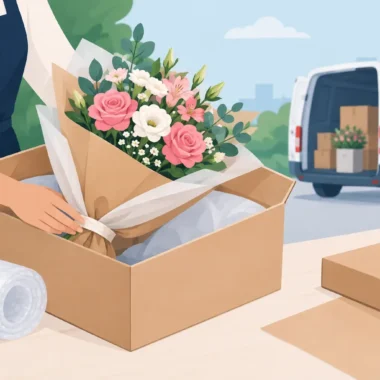
Lay the chosen outer sheet on a clean, dry work surface, usually with one corner facing towards you to create a diamond shape. If using tissue as an inner layer, place this on top first. Set the bouquet diagonally across the material, with the flower heads pointing towards the upper opposite corner and the stem ends sitting below centre.
Bring one side of the wrap across the stems and lower half of the bouquet. Keep the material snug around the handle, but do not pull it hard against the blooms. The purpose is to support the bouquet and create a clean line, not to reshape the flowers. Fold the opposite side over, adjusting the top edge so it frames the bouquet face rather than hiding it.
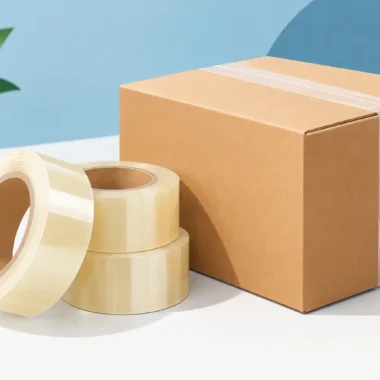
At the bottom, fold the excess material neatly around the stem ends. A sharp, controlled fold looks more professional than several small gathers. Secure the wrap with clear tape, a suitable adhesive seal or a small staple where it will be covered by ribbon. Avoid putting tape directly onto flower stems or foliage, as it can bruise them and leaves a poor finish if the customer removes the packaging.
If you are adding a water source, fit it before closing the outer wrap. Check for leaks by holding the bouquet upright for a few seconds. The water pack should sit low and be completely contained, with the outer wrap providing a second layer of protection. Never assume a water-filled bouquet will stay upright in a customer’s vehicle, so make the base as stable as possible.
Finish the Handle Cleanly
Ribbon should cover the practical fastening rather than carry the full weight of the wrap. Tie it at the natural handle point, usually just above the water pack or stem bag. A simple knot and neat bow suits most retail work. For sympathy flowers, wedding work or higher-value gifting, a double-faced satin ribbon or raffia finish may better reflect the style of the order.
Cut ribbon ends at an angle and keep the tails proportionate. Very long tails can catch on door handles and display fixtures, while short, uneven ends make a carefully made bouquet appear rushed. If a greeting card is included, attach it securely where it can be seen without damaging petals or snagging during transport.
Keep the Bouquet Stable in Transit
A good wrap needs to work after it leaves the shop. Test each bouquet by lifting it from the handle and gently tipping it forward. The stems should remain covered, the flower heads should not slide within the cellophane, and no water should escape. This takes seconds and prevents a great deal of customer dissatisfaction.
For larger orders, consider using a bouquet bag or carrier that supports the stem base and keeps flowers upright. This is particularly useful for event flowers, Mother’s Day collections and weekend trading, when customers may be collecting several purchases at once. A bag does not replace wrapping, but it reduces handling damage and makes the bouquet easier to carry.
Transport conditions matter too. In cold weather, use enough outer protection to shield tender flowers from wind and low temperatures, but avoid wrapping the heads so tightly that condensation builds up. In warm weather, prioritise hydration and airflow. The right approach depends on the flower variety and the likely journey home.
Common Wrapping Problems and Practical Fixes
The most common problem is a wrap that is too tight at the top. Flowers may look compressed on the bench, then show bruising or bent heads once the customer unwraps them. Use a wider sheet or reposition the bouquet lower within the wrap to give the blooms more space.
Another regular issue is an untidy base. This is usually caused by using a sheet that is too long, trying to fold wet paper, or leaving the stem pack too bulky. Trim the material where needed, use a proper waterproof inner layer and standardise the size of water source used for each bouquet range.
If the bouquet keeps rotating inside its wrap, the binding point is often too loose or the stems have not been positioned diagonally before the first fold. Retie the bouquet if necessary. Trying to correct poor mechanics with extra tape generally creates a heavier, less attractive result.
Finally, do not let branding or decoration obscure the flowers. A sticker, ribbon or message card should support the sale, not become the first thing a customer sees. The blooms remain the product.
Build a Repeatable Wrapping Routine
During busy periods, consistency is as valuable as creativity. Set a standard for each bouquet size: the sheet dimensions, water source, tape position and ribbon length. This helps staff work faster, controls material use and keeps counter displays looking uniform. It also makes it easier to train seasonal staff without compromising presentation.
Keep a small number of dependable wrap combinations rather than too many alternatives. For example, clear cellophane with tissue for everyday fresh bouquets, kraft-style paper with a waterproof inner layer for natural gifting, and a more formal finish for premium designs. Stock can then be managed sensibly, and replacements are less likely to be overlooked during a busy week.
A bouquet should leave the shop looking as good as it did at the design bench, while still being practical for the customer to carry, place in water and enjoy. When the wrap is clean, secure and suited to the flowers, it quietly does its job and lets the floristry speak for itself.